

Guest Post: Still photography with GoPro for 13 days around Iceland
2000 km. It’s more or less the distance travelled during 13 days around Iceland. You can easily imagine that such a distance means more than 20 hours drive through breathtaking landscapes.
As a photographer this was very frustrating, your guts tell you to stop the car almost every 10 minutes to take some pictures just because the background changes so fast that you always think “this is it, I have to take that shot”. So if I wanted to be able to make it on time I couldn’t just stop and take pictures every 5 km. That’s why I decided to use the GoPro that was rigged on my front bumper as a remote controlled camera that I could trigger from inside the car while I was driving. As you know I also filmed some of the sequences of my video “13 days around Iceland”.
With a remote control you can easily switch from video to still picture mode. That’s how I started taking pictures with the GoPro. Eventually I found myself driving in the middle of the road just to try to get the shot centered. Of course I didn’t know what the result would be because when you take still pictures with the GoPro, every settings is automatic, there is no raw or Protune mode, you completely depend on the camera’s brain, also if it’s raining or if your drive off-roads you never know if the lens is still clean… (I took hundreds of pictures with some water droplets on the lens… some were abstract but nice actually).
Thousands of pictures later I have to admit I was surprised by the dynamic range of the GoPro. I used the Hero 3+ Black edition for those pictures. After some post-production in Lightroom, I was able to get something out of it. Of course it’s not the quality of a Canon 5D Mark III, but this article is not about comparing or judging the quality of the GoPro. It’s about saying “Hey, actually, I could use it to take some stills pictures in situation where I wouldn’t have taken any”.
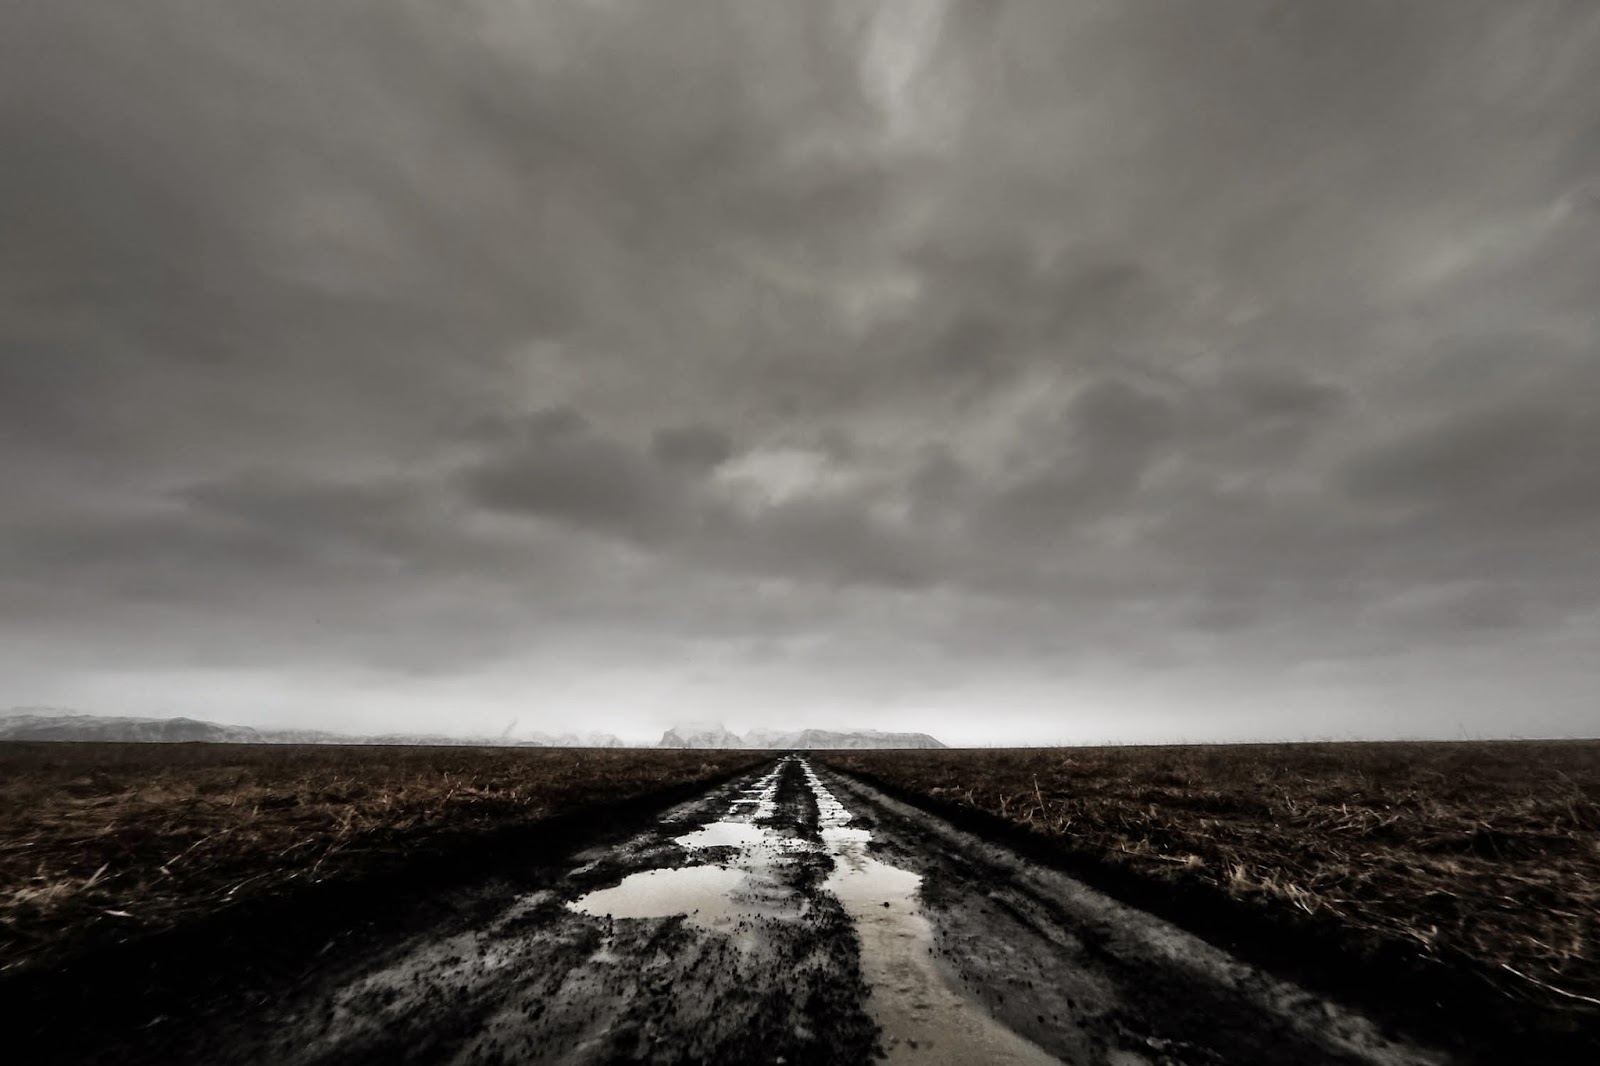
Below you can see a selection of the pictures I took with the GoPro. I also show some “before and after” post-processing so you can see what you get from the GoPro and what you can achieve after editing. I only used Lightroom for color adjustment and Photoshop to correct the lens distortion.


Before and After
Left side: Original picture from the GoPro Hero 3+ Black edition
Right side: Post-processed picture
Right side: Post-processed picture

GoPro before and after editing

GoPro before and after editing
In the future, I would be interested to see what the GoPro Hero 4 can do in terms of still photography.
Thanks a ton Xavier. Read the original post on compulsivephotography.com


0 comments:
Post a Comment