iPhone 18 Pro: Photographer's In-Depth Camera Review


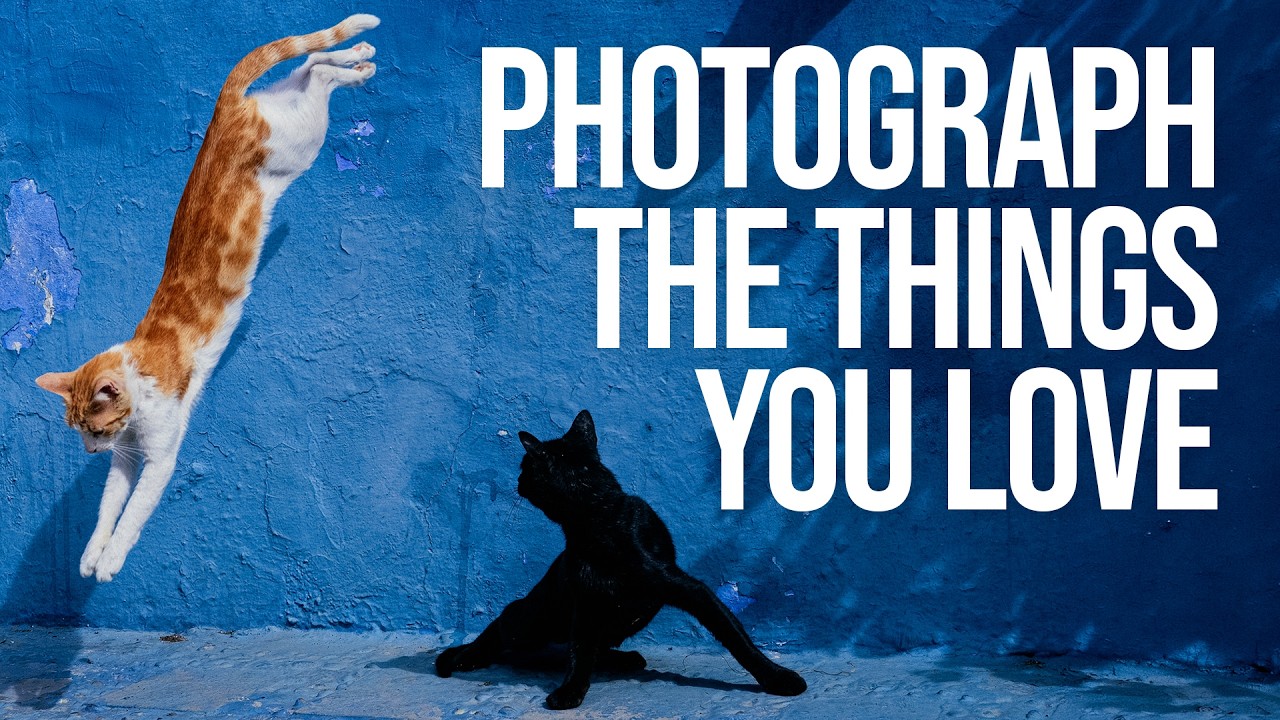

High key photography looks effortless: a bright, clean image, a pure white background, a subject that seems to float in light. But that simplicity is deceptive. Push the exposure too far and you lose detail in the skin and edges; hold back and the "white" background turns a dull grey.

Photographing shiny metal is rarely about lighting the physical object itself — it is an exercise in controlling what that surface reflects. When tackling highly reflective subjects like polished golf clubs, traditional lighting rules fall short. The secret lies not in adding more power, but in managing gradients and reflections with surgical precision to reveal the true form of the product.
Curved, highly polished surfaces like golf club heads and shafts behave like mirrors: they show the entire studio back to the camera. Every softbox edge, every ceiling tile, every stray shadow becomes part of the final image. This is why the conventional approach — aim a light at the subject and check the histogram — completely breaks down with reflective metal. You are not illuminating the club. You are designing what the club sees.
Large overhead scrims form the backbone of Karl’s setup. Positioned above the subject, a scrim diffuses the strobe into a wide, even field of light that wraps gently around curved metal surfaces. Unlike a softbox — which has a finite, defined shape that appears as a bright rectangle in every reflection — a scrim creates a broader, more controllable luminous field that can be precisely shaped using flags and cutters.
A simple mirror often outperforms a powerful softbox when refining reflections along a shaft. Intelligent redirection of existing light beats brute illumination every single time.
The distance between the scrim and the subject matters enormously. Bringing the scrim closer intensifies the highlight while softening its edges; moving it further away produces a more defined, harder gradient. This variable alone gives the photographer a remarkable degree of tonal control without changing the light source or its power at all.
Building light from scratch on complex metallic surfaces demands a fundamental shift in mindset. You are not thinking about where to point a light — you are thinking about what shape of reflection will appear on the surface, and whether that shape communicates the product’s form, curvature, and quality. A clean tonal gradient running from bright to dark along a shaft signals depth and three-dimensionality. A harsh, irregular highlight signals an uncontrolled studio.
Flags and black cards play an equally important role as light sources. Placing a black flag beside a reflective surface causes it to reflect darkness — giving the metal a defined edge and preventing it from merging visually with a bright background. This technique of “adding black” is counterintuitive to photographers used to chasing maximum light, but it is essential for making polished metal read as genuinely three-dimensional.
Golf clubs present an additional challenge beyond reflections: their length makes it physically impossible to get the entire club sharp at the apertures required for clean studio work. Karl’s solution is focus stacking — shooting multiple frames focused at different points along the club, then combining them in post-production. The result is end-to-end sharpness that no single frame could achieve, while retaining the clean, gradient-controlled lighting established in the studio.
| Subject | Reflective Metal — Polished Golf Clubs |
| Key Modifier | Overhead Scrim (large format) |
| Secondary Tool | Small Mirror for Shaft Reflections |
| Core Technique | Reflection & Gradient Control |
| Post-Production | Focus Stacking for Full Depth of Field |
| Channel | Visual Education (Karl Taylor) |
Karl Taylor’s golf club shoot is a masterclass in the fundamental principle of reflective product photography: you are never really lighting the object. You are curating the environment the object reflects. Every modifier, every flag, every mirror is a deliberate decision about what the polished metal will show the camera.
Once that mental model clicks, the whole approach changes. Problems stop being “my light isn’t bright enough” and become “what is this surface reflecting right now, and how do I change it?” That shift in thinking — from illumination to reflection design — is worth more than any new piece of gear in the studio.
▶ Watch the Full Tutorial on Visual Education
Studio lighting has a reputation for being complicated: light stands everywhere, a pile of modifiers and ratios that seem to require a calculator. But most lighting problems in portraits don't come from the gear. They come from where the light is placed.

Midday sun is usually the enemy of moody portraits. With the right flash technique, it becomes your blank canvas.
Hard noon light is flat, bright and unforgiving. But if you can push the ambient exposure down far enough, the sky and background fall into darkness and your flash becomes the only light that matters. The result looks like a night scene or a studio set, shot in broad daylight.
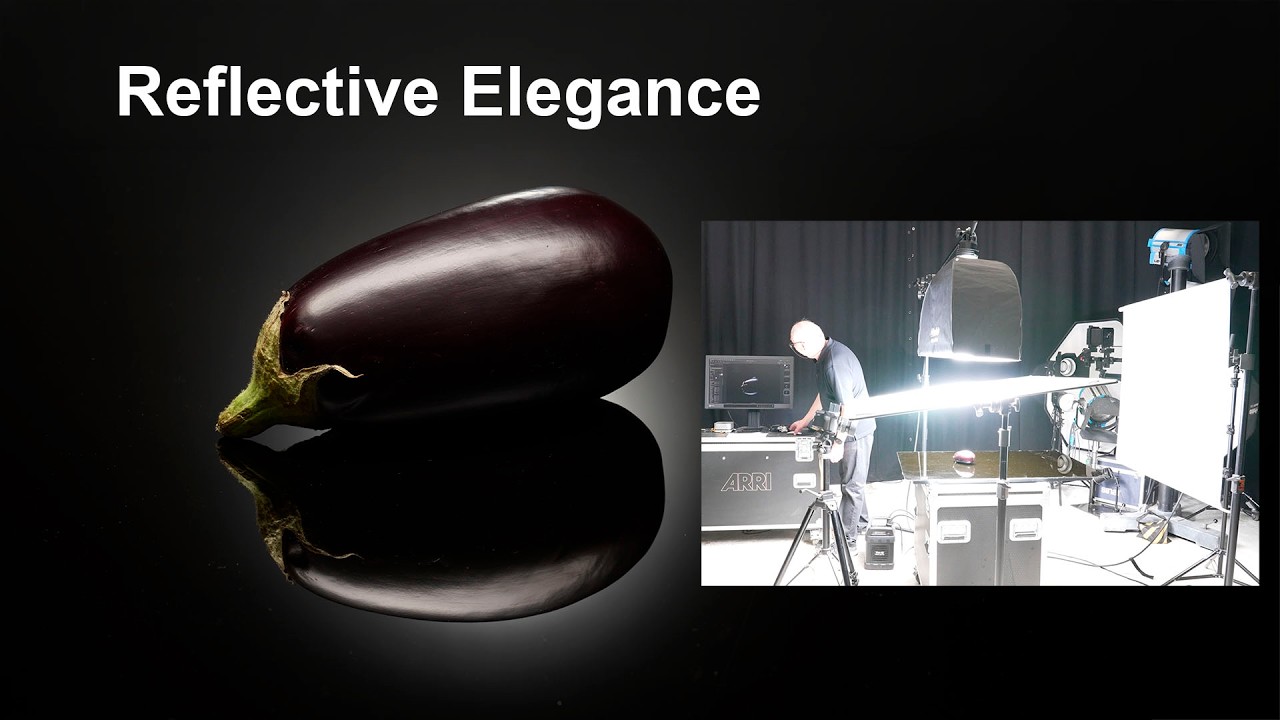
Put a dark subject on a dark background and the usual result is mud. The tones merge, the edges disappear, and the object loses its shape. Turning up the power doesn't fix it. What fixes it is deciding exactly where the light goes, and where it doesn't.
This setup does that with two lights: a softened key overhead for the highlights, and a hidden light behind the subject that builds a soft gradient to carve the edges out of the black.
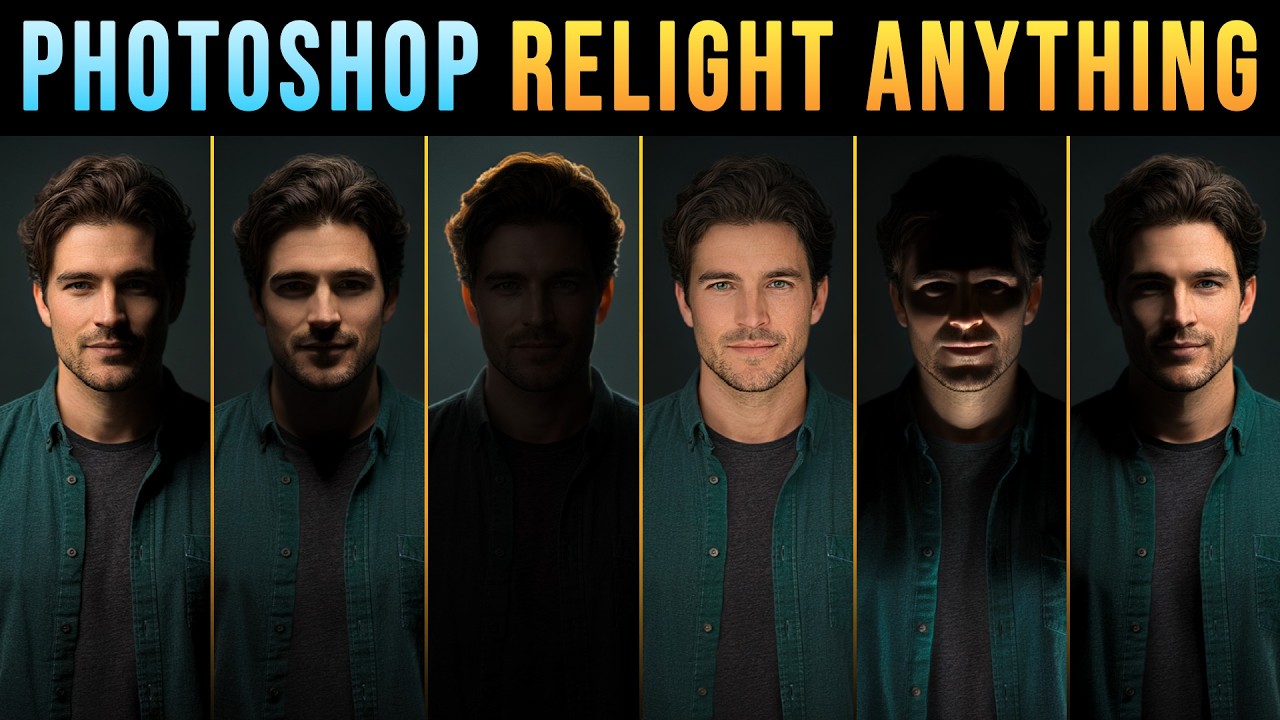

Shooting a dark, high-contrast portrait in broad daylight sounds like a contradiction. It isn't, as long as you decide how much of the sun makes it into the frame.
In this video, Glyn Dewis uses one speedlight and a small gridded modifier to turn an ordinary outdoor scene into a moody, almost theatrical portrait. No studio, no backdrop, just control of ambient light versus flash.







SOCIAL MEDIA