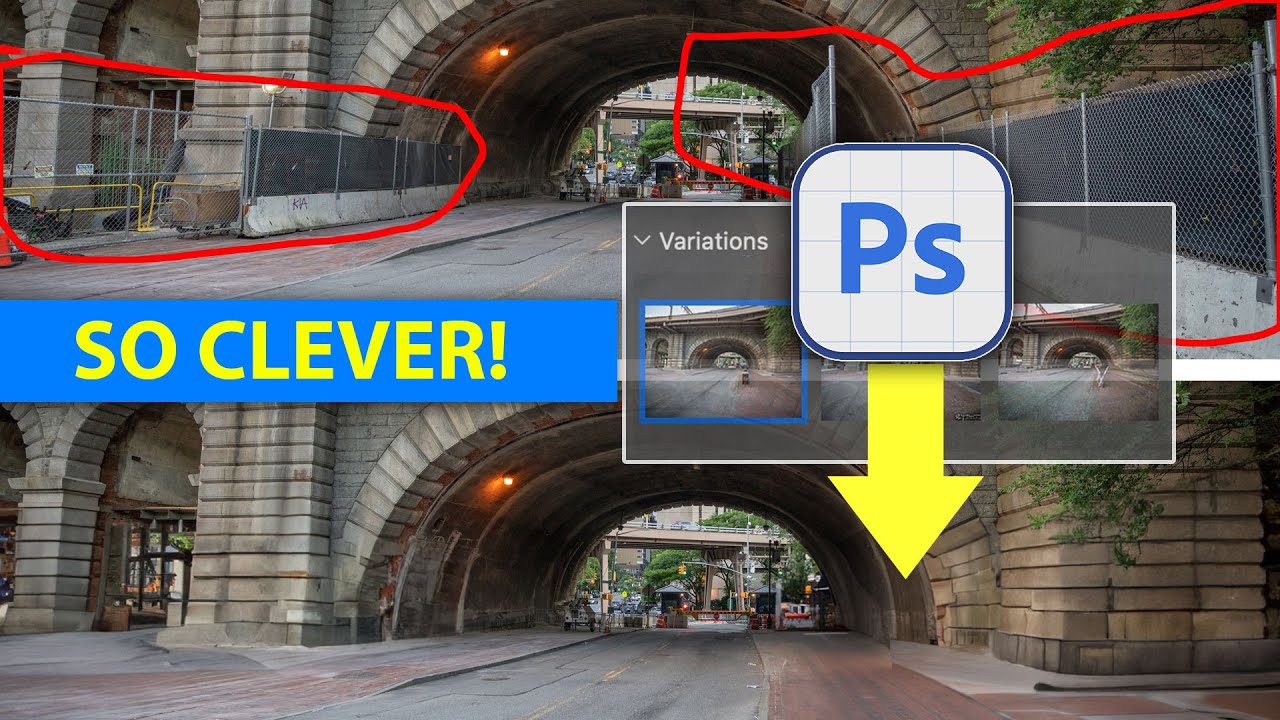
Variation Hack removes ANYTHING with Generative Fill in Photoshop
Photoshop is a powerful tool for image editing, and its latest feature, Generative Fill, takes image manipulation to the next level. In this video, Colin Smith from photoshopCAFE shared a clever hack that allows users to combine different variations of Generative Fill to create the best possible image. In this article, we will delve deeper into this technique and explore how it can be mastered for flawless image editing in Photoshop.
Understanding the Variation Hack:
When using Generative Fill in Photoshop, you are presented with three variations to choose from. However, sometimes you may like different parts of each variation. This is where the variation hack comes in. By using a simple technique, you can combine the desired elements from different variations to create the perfect image.
The Step-by-Step Process:
1. Select the desired parts: Begin by using the Lasso tool to select the parts you want to keep from each variation. You can start with the first variation, hold the Shift key, and select the parts from the second variation.
2. Generate and fill: Once you have made your selection, go to the Generative Fill option and click on "Generate." This will display the three variations.
3. Duplicate the generative layer: Since the Generative Fill operates as a generative layer, you can duplicate it by pressing CTRL/Command+J or dragging it into the plus icon, creating two versions of the layer.
4. Set the desired parts: Hide the top layer and focus on the one below. Identify the parts from the first generation that you like and want to keep.
5. Adjust the other layer: Switch to the second layer or the first one you created. This layer will show the parts from the second generation that you prefer.
6. Merge the layers: After setting the desired parts in each layer, you can merge them together. This will combine the selected elements from both generations into a single layer.
7. Fine-tune with layer masks: To further refine the image, you can use layer masks. Select the mask of the top layer, which contains the parts you want to keep from the first generation. Remember that white areas are visible, while black areas are hidden.
8. Hide unwanted parts: Use a brush with black as the foreground color to paint over the areas you want to hide from the second generation. By doing this, you can choose specific pieces from each variation and achieve the exact result you desire.
Colin Smith's tutorial provides a step-by-step guide to help you master this technique and unlock the full potential of Generative Fill in Photoshop. Whether you're a professional photographer, graphic designer, or simply enjoy editing images, this hack will undoubtedly enhance your workflow and produce outstanding results. Experiment with different combinations, refine your skills, and elevate your image editing capabilities using this clever hack in Photoshop.
Image and video via photoshopCAFE | His new course on Generative Fill in Photoshop: https://photoshopcafe.com/shop/genera...Save 20% with code GFYT20


0 comments:
Post a Comment