


How to Light an Interview Like a Pro: A Cinematographer’s Guide
Interview lighting is one of the most important skill sets for cinematographers. Whether they are shooting commercials, documentaries, or testimonials, they need to know how to light their subjects in a way that enhances their story and showcases their personality.
In this blog post, we’re going to share with you some tips and tricks on how to light an interview like a pro, based on a recent job done by Robert from Machado Visuals. He’ll show us how he used a modified book light as his key light, how he balanced the ambient light from the location, and how he added some interest and depth to the background.
Finding Your Frame and Setting Your Exposure
He also wanted to leave some of the overhead lights on, so that the background didn’t become too dark or moody. However, he made sure to turn off all the overheads directly around his talent, so that the only light hitting them was coming from him.
To set his exposure and color temperature, he used a light meter and a color meter. He measured the ambient light from the overheads and set his camera accordingly. He also decided to use daylight-balanced lights for his key and fill, since they matched the color of the overheads better than tungsten lights.
Creating a Soft and Flattering Key Light
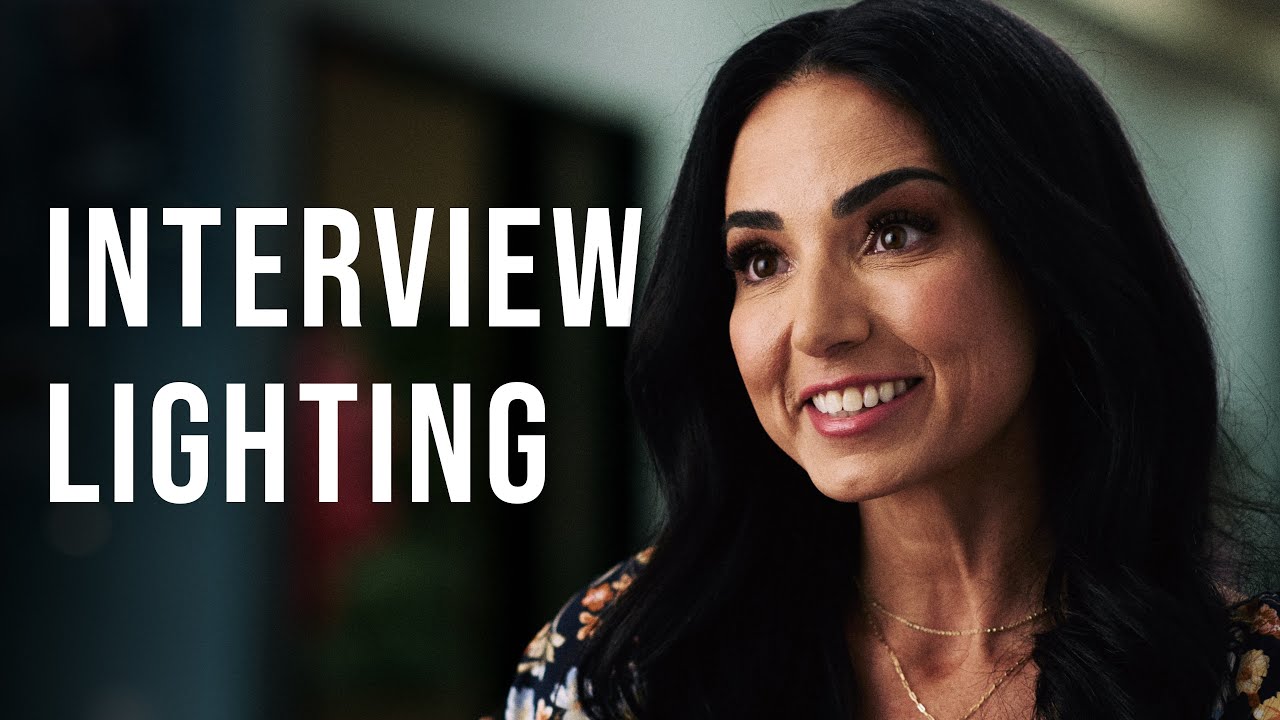
The key light is the main light source that illuminates your subject’s face. It should be soft and flattering, especially for testimonial interviews where you want to showcase your subject’s physical transformation.
For this project, Robert used a slightly modified book light as his key light. A book light is a technique where you bounce your fixture through another piece of diffusion in what looks like an open book. This creates a very soft and even light that wraps around your subject’s face.

However, instead of connecting the bounce to the diffusion, he set his rags parallel to each other and closed off each end with an ultra bounce floppy. This created a more directional and controlled light that still had some softness and wrap.
He placed his key light on the opposite side of the camera from his subject’s eye line, at about a 45-degree angle. This created some nice contrast and shadow on their face, while still revealing their features. He also raised his key light slightly above their eye level, so that it created a catchlight in their eyes.
Balancing Your Fill and Backlight
For this project, Robert used a simple bounce board as his fill light. He placed it on the same side of the camera as his subject’s eye line, at about a 90-degree angle from his key light. He angled it slightly towards their face, so that it reflected some of the key light back into their shadows.
For his backlight, he used a small LED panel with a grid and a CTO gel. He placed it behind his subject, on the same side as his key light, at about a 135-degree angle from his camera. He aimed it at their hair and shoulders, creating some warm highlights that contrasted with the cool tones of the background.
Adding Some Interest and Depth to the Background
For this project, Robert used two small LED panels with grids and CTB gels as accent lights for his background. He placed them behind his subject, on opposite sides of the frame, at about 180-degree
Video and image via Robert Machado | www.machadovisuals.com


0 comments:
Post a Comment