


Rim lighting secrets for stunning macro photography
Creating powerful macro images is all about revealing a subject’s hidden detail. One of the most effective ways to make your subject truly stand out is with a high-contrast, rim-lit setup on a black background. This technique separates your subject from its surroundings, making textures and shapes pop. We'll walk you through the essential steps to master this look, from the studio setup to the final polish in post-production.
Studio & Lighting: The Core of the Look
For a successful macro shot, stability is non-negotiable. Place your camera on a tripod and use a macro lens. Your subject needs to be held steady—a retort stand is an excellent tool for this, allowing for precise positioning.
The key to the final look is the background: a simple black card placed far enough away to remain in complete shadow. This creates the dramatic, high-contrast effect we're after.

The lighting is what makes this technique sing. You'll need a single flash head with a softbox placed behind your subject. This creates a beautiful, soft rim light that outlines your subject and separates it from the black background.
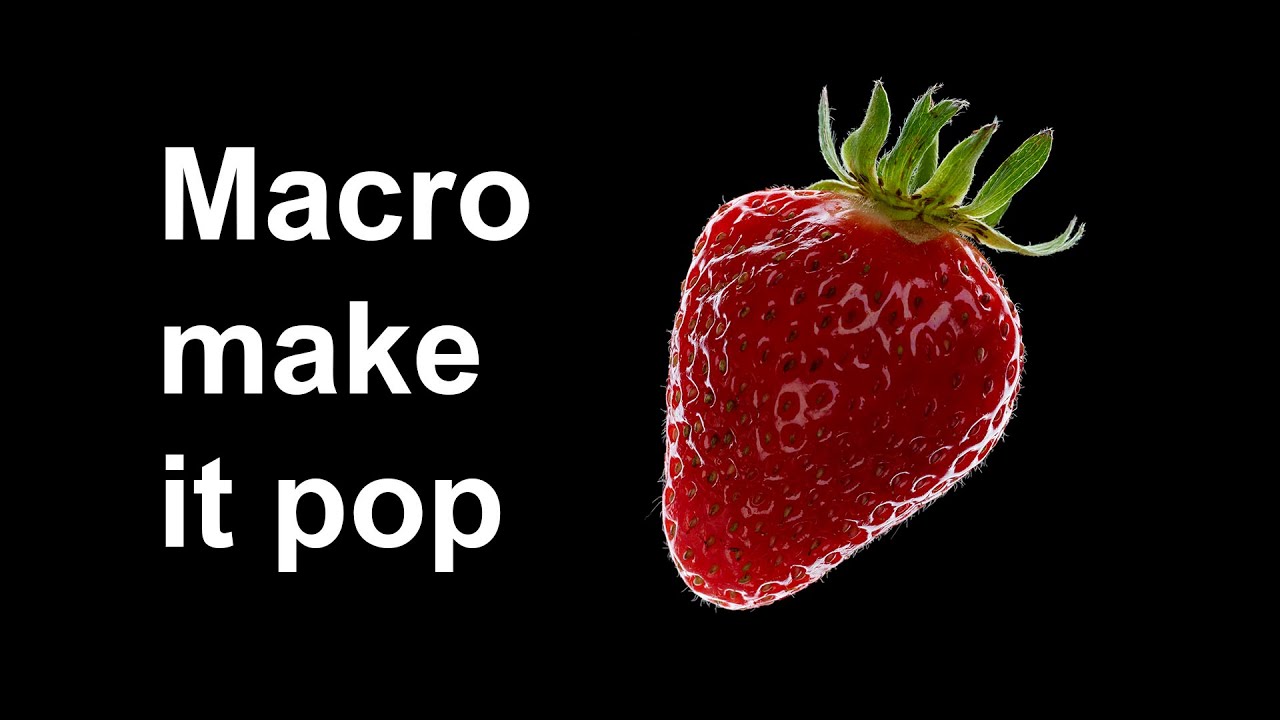
To refine the light and prevent it from spilling onto the background, use black cards as flags on either side of the subject. To add a subtle touch of light to the front of your subject, use a white card as a reflector, bouncing some of the flash back onto the front of the strawberry.
To work with your flash, switch your camera to manual mode. Set your ISO to 100 for a clean, noise-free image, and your shutter speed to your camera's sync speed (usually 1/200s or 1/250s).
Camera Settings & Post-Production
To work with your flash, switch your camera to manual mode. Set your ISO to 100 for a clean, noise-free image, and your shutter speed to your camera's sync speed (usually 1/200s or 1/250s).
This ensures the flash is the primary light source. Set your aperture to around f/8 or f/11 for adequate depth of field, keeping the entire subject in focus. From there, your exposure is controlled entirely by adjusting your flash power.

In post-production, a few simple tweaks in Photoshop can perfect your image. The most critical step is to set the black point to ensure the background is a true, rich black.
After that, a quick touch-up to remove any dust or imperfections and a final crop will give you a striking, professional macro photograph.
Images and video via Camera Club Live


0 comments:
Post a Comment