


Mastering Light Shaping: Advanced Masking in Lightroom
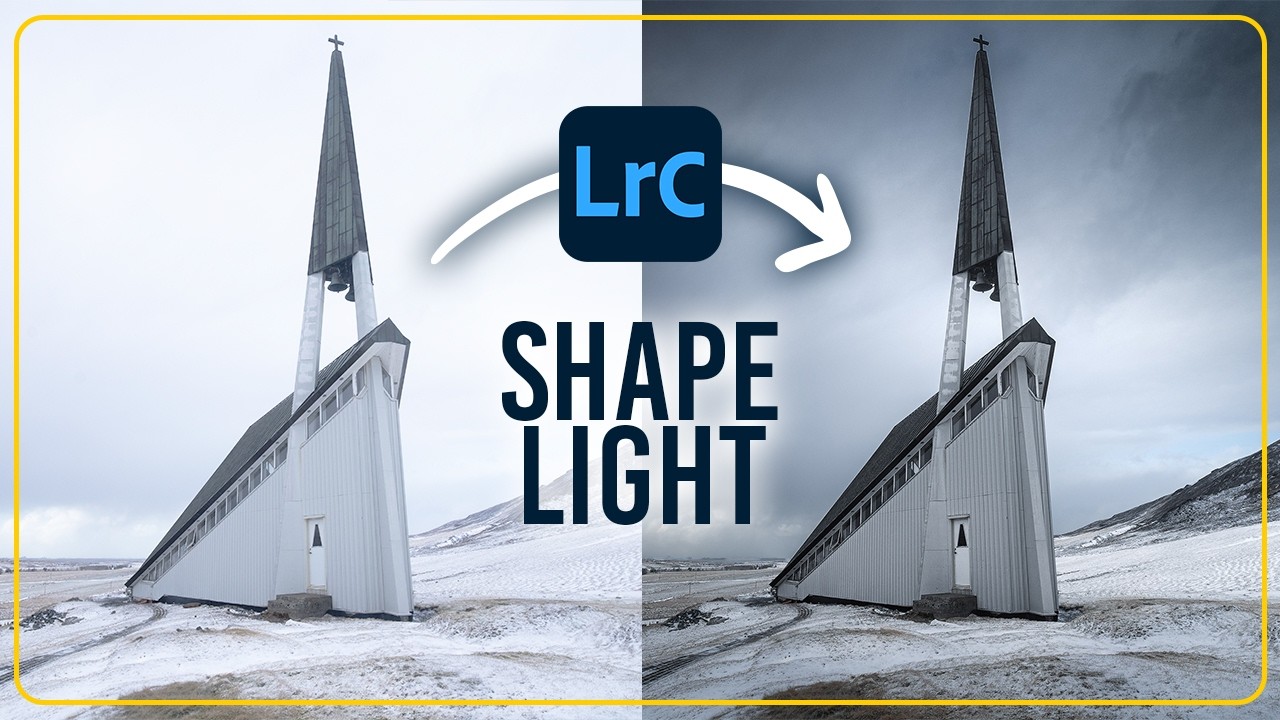
Great landscape photography is as much about direction as it is about scenery. Often, a raw file lacks the visual path necessary to lead the viewer's eye. By "shaping" light in post-processing, photographers can transform a flat, static scene into a dynamic masterpiece.
This technique focuses on darkening the edges and selectively illuminating the subject to create a professional, high-contrast look that feels entirely natural.
The secret lies in Lightroom’s advanced masking tools. By utilizing linear and radial gradients, one can perform "burning" (darkening) and "dodging" (brightening) with surgical precision.
Using the Subtract feature with landscape masks allows you to modify the sky or foreground without affecting the crisp lines of architecture or mountains.
This separation is key to making a subject "pop" against a dramatic, moody background.
Guided Focus Through Masking
Adjusting the exposure and whites within these masks provides the necessary contrast to lift the subject out of the shadows, ensuring it is the undisputed focal point of the composition.
Refining Texture and Atmosphere
Applying negative dehaze to a light source mask creates a soft, atmospheric glow that mimics mist or lens flare.
This balance between hard textures on the subject and soft light in the environment creates a sense of three-dimensional depth that a standard global edit simply cannot achieve.
Practical Tips for Immediate Results
- The "Vignette" Manual Hack: Instead of the standard vignette tool, use four linear gradients on the edges for more natural, asymmetrical light control.
- Protect Your Subject: Always use the "Subtract Architecture" or "Select Subject" feature within your sky masks to avoid dark halos or muddy edges.
- Color Separation: Slightly cool down the shadows in your masks while keeping the highlights warm to create a professional "split-tone" lighting effect.
- Feathering is Key: Keep your mask feathering at 100% to ensure transitions between light and dark remain invisible to the viewer.
Images and video via Christian Möhrle - The Phlog Photography


0 comments:
Post a Comment