


Stop Making Studio Flash Complicated: 5 Easy One-Light Rules
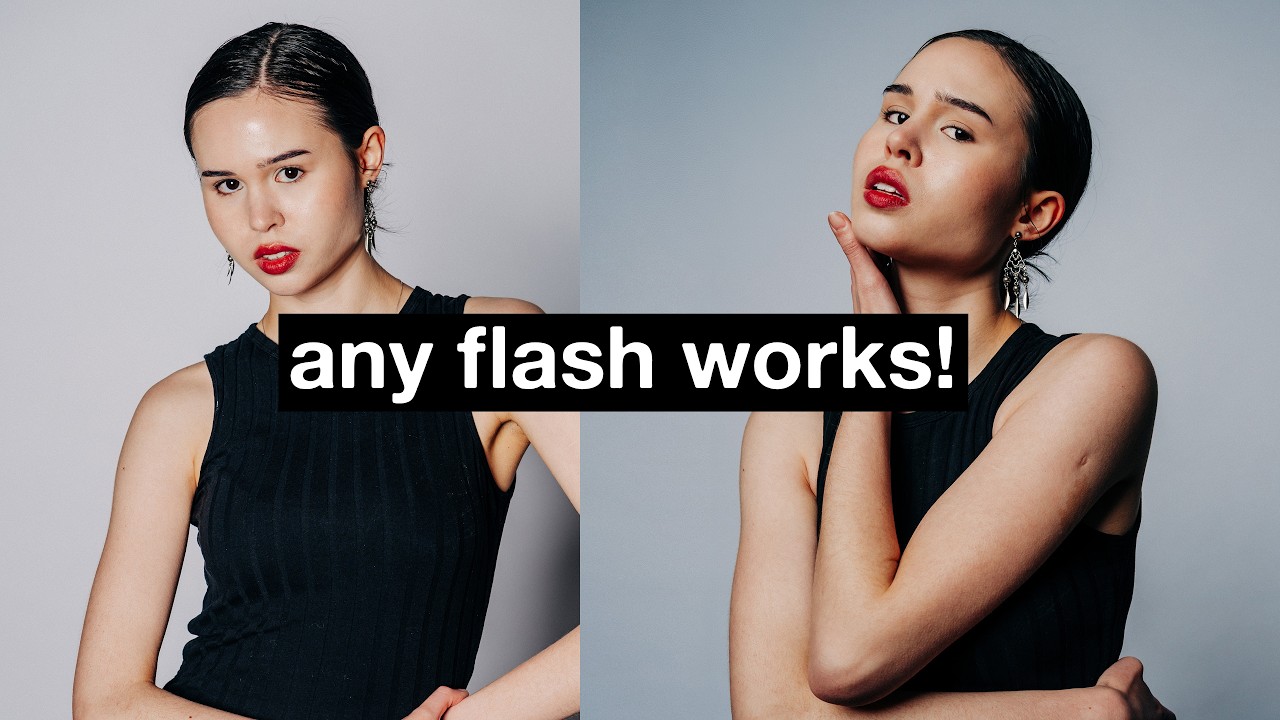
Studio lighting has a reputation for being complicated: light stands everywhere, a pile of modifiers and ratios that seem to require a calculator. But most lighting problems in portraits don't come from the gear. They come from where the light is placed.
Learn to control a single light source and to think in terms of physical distance, and your studio portraits will improve dramatically, no elaborate multi-strobe setup required.
Key Lighting Adjustments for Instant Results
1. Kill the ambient light. Switch off the overhead room lights before you start. Mixed sources cause color casts and muddy shadows, and you want your flash to be the only light shaping the face.
2. Bring the softbox closer and lower the power. It sounds counterintuitive, but moving the modifier closer to your subject makes the light softer. Softness depends on the size of the source relative to the subject: the closer the softbox, the larger it becomes from the subject's point of view, which wraps light around the face and smooths highlights. Because the light is now closer, you'll need much less flash power.
3. Use distance to control the background. Light falls off quickly with distance (the inverse square law). With the key light close to your subject, simply moving the subject away from the wall will darken the background; moving them closer will brighten it. No power changes needed.
Quick Practical Tips
- Place the key light slightly off-center and angled down, rather than straight on-axis with the camera.
- Adjust background brightness by changing the subject-to-wall distance, not the flash power.
- Add a second flash only when you actually need background or hair separation.





0 comments:
Post a Comment