


How to Use the New Masking Features in Adobe Camera Raw

In this episode, Joel Grimes is going to teach you how to get the most from your images using all the power Adobe recently released with the updates to Camera Raw. We will take a pretty flat RAW file and do a full edit. Joel loves using ACR because all the edits aren’t locked in when going to Photoshop. All these features are also in Lightroom but having the edits right there in Photoshop can be a real-life-saver.
PARTS OF THE VIDEO
00:01:55 - Why I use Adobe Camera Raw and Bridge over Lightroom
00:02:45 - First Steps in ACR
00:03:17 - Select Sky in a Mask
00:03:53 - Masking Using Color Range
00:04:19 - Basic Adjustments in Black & White
00:05:14 - The Color Mixer Tab
00:05:48 - Working on the Sky
00:06:38 - Building Contrast on the Foreground
00:07:05 - Linear Gradient in the Foreground
00:07:45 - Using the Brush Tool to Subtract the Mask
00:10:20 - Making the Main Subject Pop
00:12:30 - Slight Vignetting with the Radial Gradient Tool
00:13:47 - Fixing Small Distractions
00:18:36 - Open Up the Image in Photoshop
00.19.38 - Continuing Without Destroying Your Work with Smart Objects
00:20:30 - Recovering a Flat Image Using a Levels Adjustment Layer
00:22:27 - My Favorite Final Trick for Finishing a Dramatic Landscape Image
You may also like: How To Shoot A Portrait Photo by Joel Grimes
About Joel Grimes:
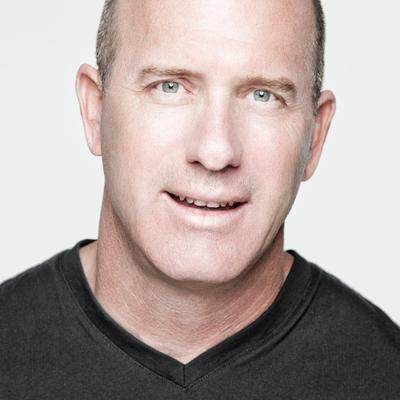 Commercial photographer Joel Grimes has nearly thirty years of experience in the field. Throughout his successful career, Joel's assignments have taken him to every state across the USA and to over fifty countries around the globe. Aside from his commercial work, Joel views himself as an ambassador for the photographic creative process, teaching hands-on workshops around the world as a Canon Explorer of Light. If you enjoyed this video, check out his Academy. He has over 100 tutorials with new ones releasing monthly. Visit joelgrimesacademy.com to see more! | See my other photography courses here: www.joelgrimes.com/all-courses
Text, image and video via Joel Grimes | Get your FREE copy of his eBook, "The Rules of Composition" here


0 comments:
Post a Comment