


The Photographer's Lighting Dictionary: 15 Terms That Change Everything
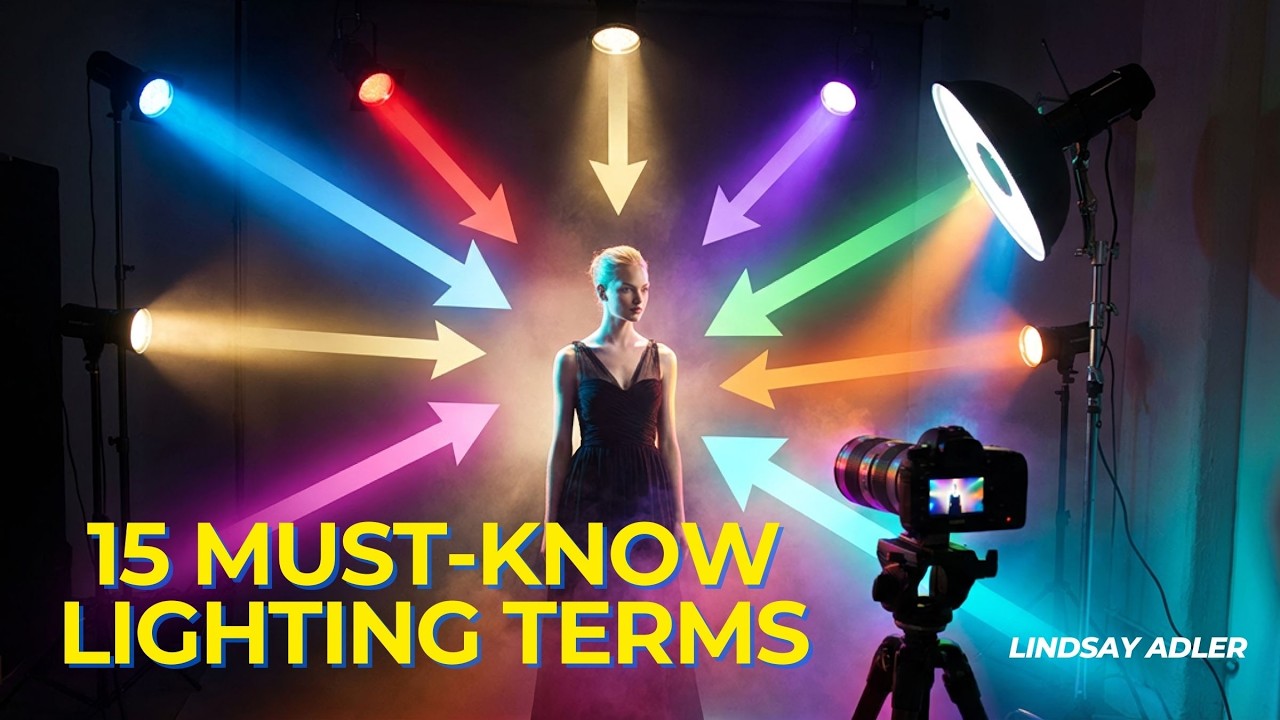
Every creative discipline has its language, and photography is no exception. But lighting — arguably the most powerful tool in a photographer’s arsenal — has a vocabulary that too many shooters never properly learn. Lindsay Adler, one of the world’s most respected fashion and beauty photographers, sits down with Adorama to demystify 15 essential lighting terms that every photographer should know. Whether you shoot in a studio or chase natural light, understanding these concepts will change how you see, plan, and communicate about light forever.
Adler has spent nearly two decades honing her understanding of light and teaching it to thousands of photographers worldwide. Her core philosophy is simple: you cannot consistently create what you cannot describe. Once you can name the qualities and patterns of light, you can deliberately reproduce them, ask for them by name, and critically analyse any image you encounter. These 15 terms are the foundation of that fluency.
The Quality of Light — Hard vs. Soft
Before anything else, Adler establishes the single most important concept in lighting: light quality. This refers to how hard or soft the light appears on the subject — specifically, the character of the transition between highlight and shadow.
“Once you can name the light you’re seeing, you can start to recreate it intentionally rather than stumbling upon it by accident. That’s the difference between a photographer and an artist.”
Roles of Light — Key, Fill, Rim & More
Every light in a setup plays a specific role. Understanding these roles allows you to deconstruct any image and rebuild it in your own studio. Adler walks through the essential functions each light source serves — and crucially, how they interact with one another.
The Four Classic Lighting Patterns
Perhaps the most practically useful part of Adler’s lesson: the four named lighting patterns. These describe the shape of the shadows on the subject’s face and are determined by the position of the key light relative to the subject — not relative to the camera. You can read a lighting pattern directly from a portrait by studying the shadows on the face.
Broad Light & Short Light
Two more terms that Adler covers describe which side of the face is lit — and these have a significant effect on how the face appears in the final image. They are not separate lighting patterns, but rather orientations of any pattern relative to the camera.
High Key & Low Key
- →Read the catchlight: The reflection in your subject’s eyes reveals the size, shape, and position of your key light. Learn to read it and you can reverse-engineer any lighting setup from a photograph.
- →The shadow tells the pattern: Lighting patterns are defined by the shape of the nose shadow on the face — not by where the light is relative to the camera. The shadow is your guide.
- →Short light, flattering portrait: As a default, short lighting (illuminating the smaller, far side of the face) is more sculpting and generally more flattering than broad lighting for most subjects.
- →Size equals softness: The larger the light source appears relative to the subject, the softer the light. Moving a softbox closer makes the light softer — no modifier change needed.
- →Name what you see: When analysing a photograph, practice naming every element: pattern, key position, fill ratio, high or low key, broad or short. It trains your eye faster than anything else.
Quick Reference — All 15 Terms
| # | Term | Category | One-Line Definition |
|---|---|---|---|
| 01 | Hard Light | Quality | Small source, defined shadows, sharp transitions |
| 02 | Soft Light | Quality | Large source, gradual shadows, wrapping quality |
| 03 | Specular Highlights | Quality | Mirror-like reflections of the light source on a surface |
| 04 | Diffused Light | Quality | Light scattered through a translucent material |
| 05 | Catchlight | Quality | Reflection of light source visible in the eyes |
| 06 | Flat Light | Quality | Minimal shadow, low contrast, even illumination |
| 07 | Key Light | Role | The primary, dominant light source in the setup |
| 08 | Fill Light | Role | Secondary light that reduces key-light contrast |
| 09 | Rim / Hair Light | Role | Behind subject; creates edge separation from background |
| 10 | Lighting Ratio | Role | Brightness difference between lit and shadow sides |
| 11 | Background Light | Role | Controls background tone independently of subject |
| 12 | Kicker | Role | Low-angle accent light; adds dimension to the body |
| 13 | Broad Light | Orientation | Key illuminates the larger, camera-facing side of the face |
| 14 | Short Light | Orientation | Key illuminates the smaller, far side of the face |
| 15 | High Key / Low Key | Tone | Overall tonal register: bright and open vs. dark and dramatic |
Fluency in Light Is the
Foundation of Every Great Image
Adler’s lesson cuts to the heart of what separates photographers who consistently produce compelling work from those who are still relying on luck. These 15 terms are not technical jargon for its own sake — each one corresponds to a visible, measurable quality in an image that you can learn to see, plan for, and control. The Paramount pattern, the short-lit face, the soft fill ratio: these are the building blocks of intentional portraiture.
Start by analysing photographs you admire. Name every element you can see. Over time, that vocabulary becomes instinct — and instinct, on a shoot, is what gets you the image before the light changes and the moment passes. Watch the full video, then go out and practice with a single light and a willing subject. You already know the language. Now go speak it.
▶ Watch the Full Video by Lindsay Adler


0 comments:
Post a Comment