


Why Your Prints Are Too Dark (And How to Fix It Once and for All)
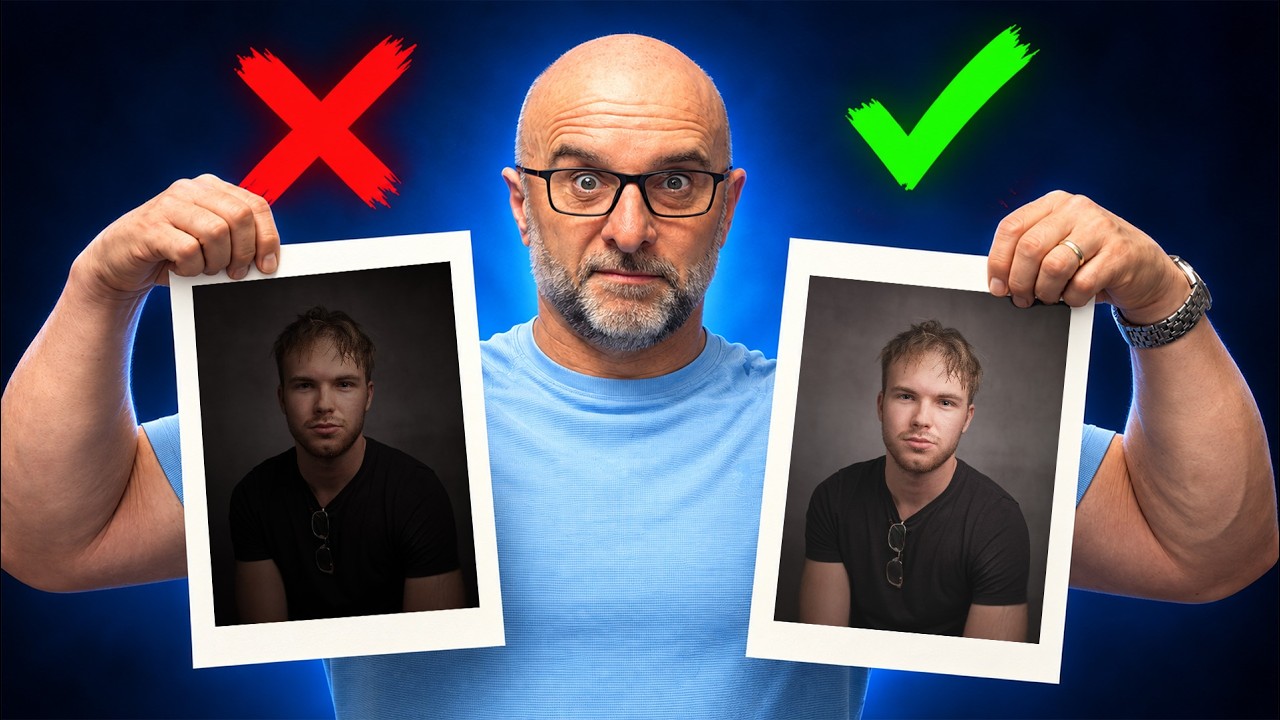
Few things in photography are more frustrating than spending hours editing an image until it looks flawless on screen, only to have the final print come out noticeably dark and muddy. The root cause of this discrepancy is simple: computer monitors are backlit light sources, while paper prints merely reflect the ambient illumination available in the room.
When a monitor is set too bright, it misleads the editor into prematurely darkening the exposure during post-processing.
Standard calibration guides often suggest setting display luminance between 80 and 120 candelas, but this range frequently proves too luminous for accurate print matching. Dropping the monitor luminance down to a custom target of 60 candelas ensures that the on-screen display mirrors the real-world reflective characteristics of physical paper, preventing unwanted exposure adjustments.
Dialing In Calibration and Ambient Light
When calibrating a display for print editing, setting precise target values is essential. Alongside reducing luminance to 60 candelas, maintaining an industry-standard D65 white point, an Adobe RGB color gamut, a 2.2 gamma curve, and lifting the minimum black point slightly to 0.5 candelas helps preserve shadow details in physical media.
Equally critical is room lighting. Editing in dark spaces exaggerates perceived screen brightness, leading photographers to pull down exposure levels unintentionally. Introducing neutral bias lighting behind the display neutralizes room contrast and reduces eye strain.
The Histogram as the Ground Truth
Because visual perception shifts dynamically with ambient conditions and screen brightness, human eyes cannot be trusted to judge absolute exposure. The histogram remains the sole objective metric, remaining completely unchanged regardless of screen luminance adjustments.
For photographers lacking hardware calibration tools, holding a physical print alongside the display and manually dimming the screen brightness until both visually match offers an effective, zero-cost quick fix to eliminate dark prints.
Practical Studio Advice: If your monitor supports hardware calibration, create two distinct target profiles. Use a dedicated 60-candela profile for soft-proofing and print editing, and switch to a brighter, higher-contrast profile (around 120 candelas with absolute black values) for standard web browsing, video consumption, and multimedia tasks.
Video and images via Glyn Dewis





0 comments:
Post a Comment