


Mastering Top-Down Lighting: Nathan Elson's Ultimate One-Light Portrait Setup
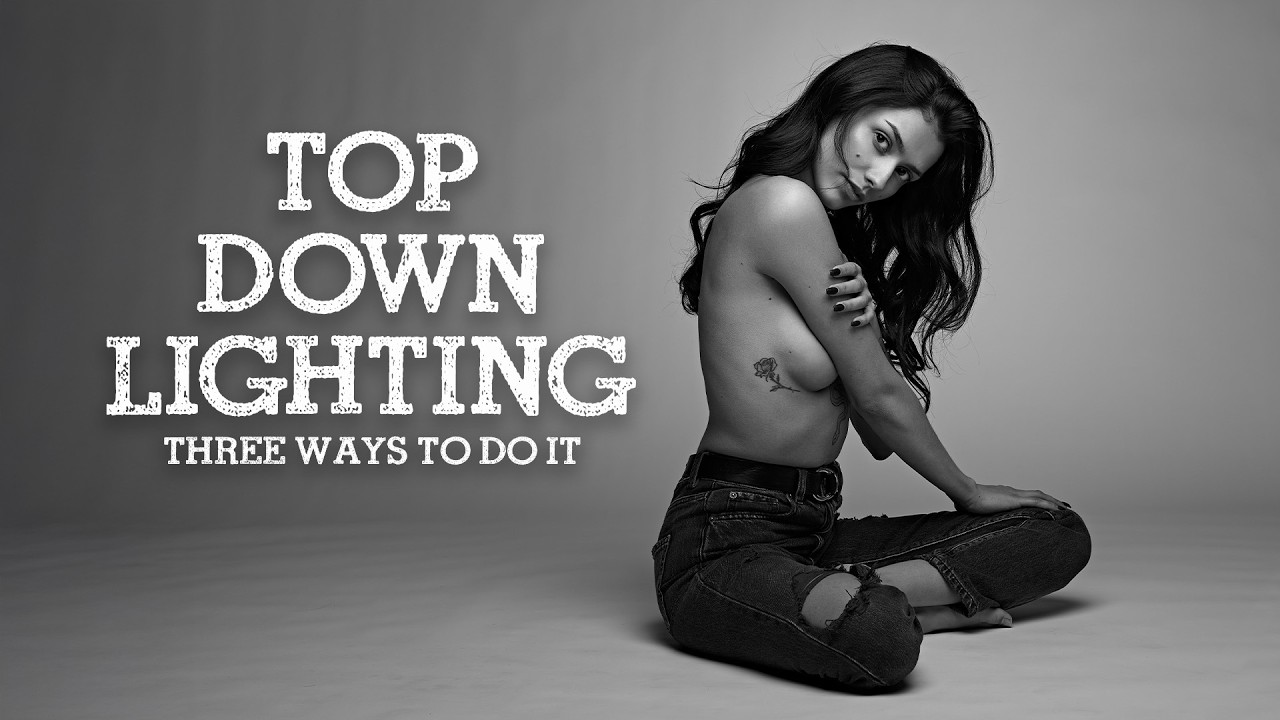
Top-down lighting is a classic studio technique capable of carving out dramatic shape, defining cheekbones, and accentuating fine texture in portraiture. However, improper modifier positioning frequently results in harsh facial shadows and dark, lifeless eye sockets.
Photographer Nathan Elson breaks down his go-to single-source overhead setup, revealing how precise modifier placement makes all the difference.
Rather than centering the modifier directly over the subject's head, Elson positions the light one to two feet above the model, setting the back edge of the softbox just in front of their face. This allows the full spread of light to gently feather down the body, producing seamless highlight-to-shadow transitions.
Positioning the subject roughly five feet from a seamless backdrop creates an elegant light-grey falloff, while a white floor provides natural fill for seated subjects.
Subject Separation on Dark Backdrops
When working against dark backdrops with subjects in dark clothing, key light alone can cause hair and wardrobe details to blend into the background. Elson addresses this by introducing a secondary accent light positioned directly behind the backdrop.
Angling this rim light strictly toward the subject's back and hair prevents light spill onto the background, preserving full subject separation while maintaining moody, low-key contrast.
Practical Studio Advice: To avoid dark eye sockets when using overhead softboxes, keep the back edge of your modifier aligned slightly in front of the subject's forehead. Feathering the edge of the light source down across the face creates catchlights in the eyes while maintaining strong sculpting along the jawline and cheekbones.
Video and images via Nathan Elson





0 comments:
Post a Comment