


How to Light Interviews: The Proven 10-Point Cinematography Method
Forget the frustration of inconsistent interview setups. The best cinematographers don't rely on luck; they use a systematic, repeatable 10-step process to ensure professional, naturally motivated lighting every time.
This framework turns chaotic locations into controlled studios, guaranteeing separation, depth, and a compelling look for your subject.
Step 1-3: Assess and Control the Environment
Before touching a light, understand the natural boundaries.
- 1. Know Where West Is: Determine the sun's path to plan around harsh light. Utilize northern windows (in the Northern Hemisphere) for naturally diffused light.
- 2. Define Control: Turn off all ambient lights and cover windows. Establish a blank canvas and confirm which fixtures (skylights, overheads) can be controlled or blacked out.
- 3. Define Motivation: Where is the light supposed to come from? Use this natural source (a window, a practical lamp) to justify your key light placement. This ensures your interview lighting feels realistic, not artificial.
Step 4-6: Blocking, Key Light, and Lens Choice
These steps establish the fundamental look and composition.
- 4. Set the Key Light and Modifier: Place your main light source first. Decide on the quality of light—hard or soft—based on your motivation (e.g., a window with sheers motivates a soft key).
- 5. Lock the Shot and Block the Subject: Position the interviewee. The distance to the background is crucial for depth of field and separation. A 3:1 ratio (background distance is three times camera distance) is a great starting point for a professional look.
- 6. Pick the Lens: After lighting and blocking, choose the lens. A 35mm is often ideal, providing a versatile frame that includes enough background for context without revealing equipment. Tighter lenses like 50mm or 85mm can hide too much environment.
Step 7-10: Technical Refinement and Stress Testing
The final adjustments dial in the cinematic polish.
- 7. Pick Your Contrast Ratio: Use your camera's waveform or false colors to measure exposure. While 60 IRE is standard for skin tone, don't be afraid to drop down to 35 IRE for a moodier, higher-contrast image. Adjust aperture and light intensity to balance the subject with the ambient background.
- 8. Background Tweak: Add practical lights to the background to enhance separation and interest. Subtle window spill or dim lamps are better than strong backlighting, which can look dated. Use dimmers on all practicals for precise control.
- 9. Set White Balance and Exposure: Tweak your white balance (often aiming for daylight-balanced 5500K) and perform final exposure settings.
- 10. Stress Test: Have your subject move—lean forward, gesture, shift position. Watch the playback to ensure they don’t drift off-camera or create unintended shadows. This simple step saves big headaches in the edit suite.
By following this disciplined sequence, you’re not just lighting; you're designing a consistent, high-end look, ready for any scenario.
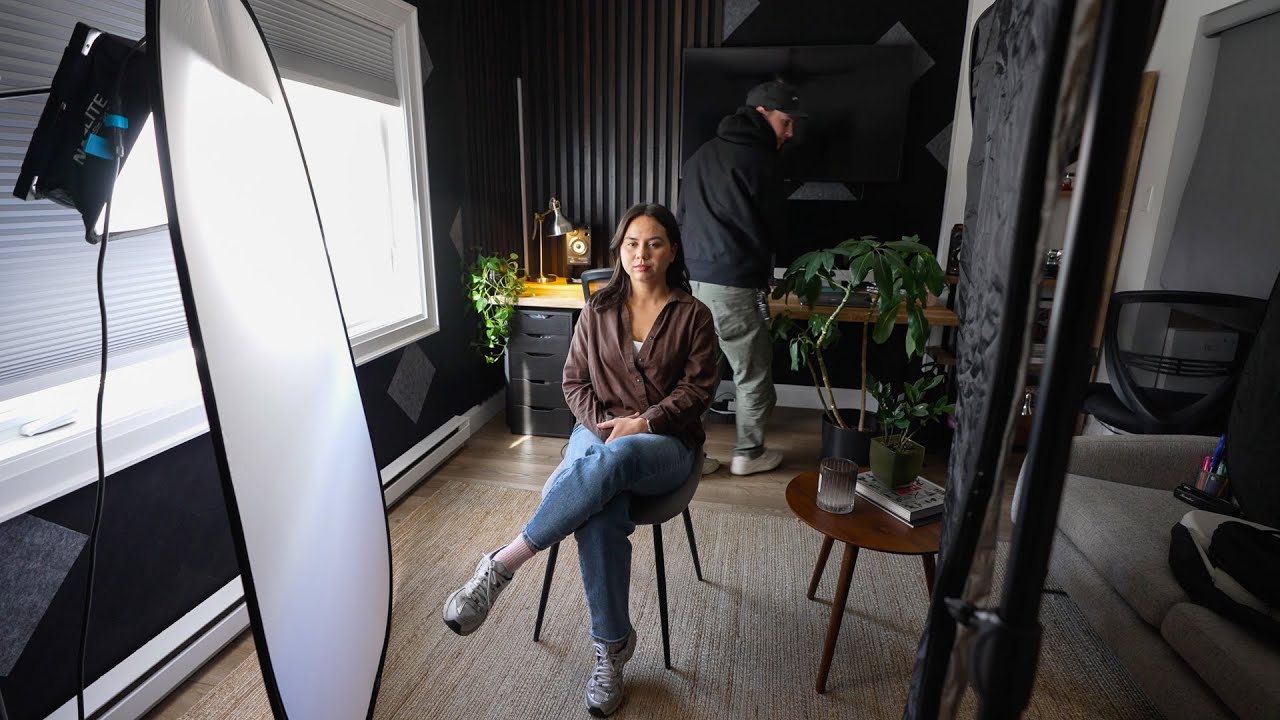
Image and video via Mark Bone


0 comments:
Post a Comment