


Mastering Time-Blending: Creating Impossible Light Trails
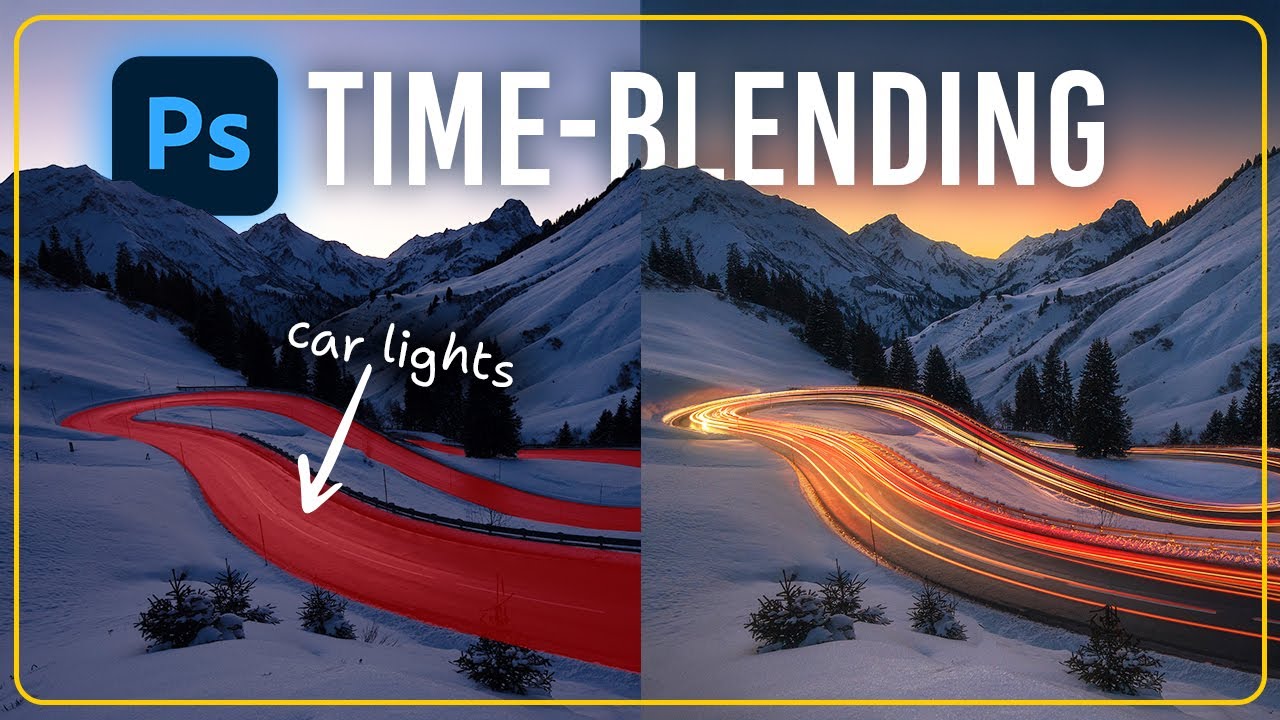
This technique is particularly effective when working with light trails in a mountain landscape, where a single exposure can rarely capture both a perfectly lit sunset and a continuous stream of traffic. By merging multiple RAW files, it is possible to create a scene that feels both ethereal and grounded in reality.
Achieving a professional result starts with a solid base exposure. The foreground must be kept intentionally dark during initial raw adjustments; if the landscape is too bright, the car light trails will lose their punch and fail to pop against the road.
Balancing the warmth of the sky with a cooler, cleaner foreground creates a powerful color contrast that guides the viewer's eye through the composition.
Actionable Tips for Time-Blending:
• Mind the Histogram: Keep the foreground road area in your base shot slightly underexposed to maximize light trail visibility.• Synchronize Early: Edit one car trail RAW file for color and glow, then synchronize those settings across all others for consistency.
• Use Lighten Mode: The "Lighten" or "Screen" blending modes are your best friends for stacking light effects without affecting dark pixels.
• Add Extra Glow: Create a new layer set to "Soft Light" and use a soft brush with a warm color to manually enhance the brightest trail sections.
• Clip Your Adjustments: Use clipping masks (Alt+Click between layers) to ensure contrast edits only hit the car trails, not the whole scene.
Images and video via Christian Möhrle - The Phlog Photography


0 comments:
Post a Comment